
Making peanut butter cups at home isn’t just about the taste, it’s about reclaiming that messy, sticky joy of DIY. No fancy ingredients, just simple pantry staples and a craving for something sweet, salty, and creamy. It’s a little messy, a little chaotic, but totally worth every crumb.
There’s something oddly satisfying about melting chocolate and swirling it into tiny cups, watching them set into perfect little bites or imperfectly beautiful ones. It’s a process that invites patience and some good tunes, a reminder that the best treats come from a little effort and a lot of love.
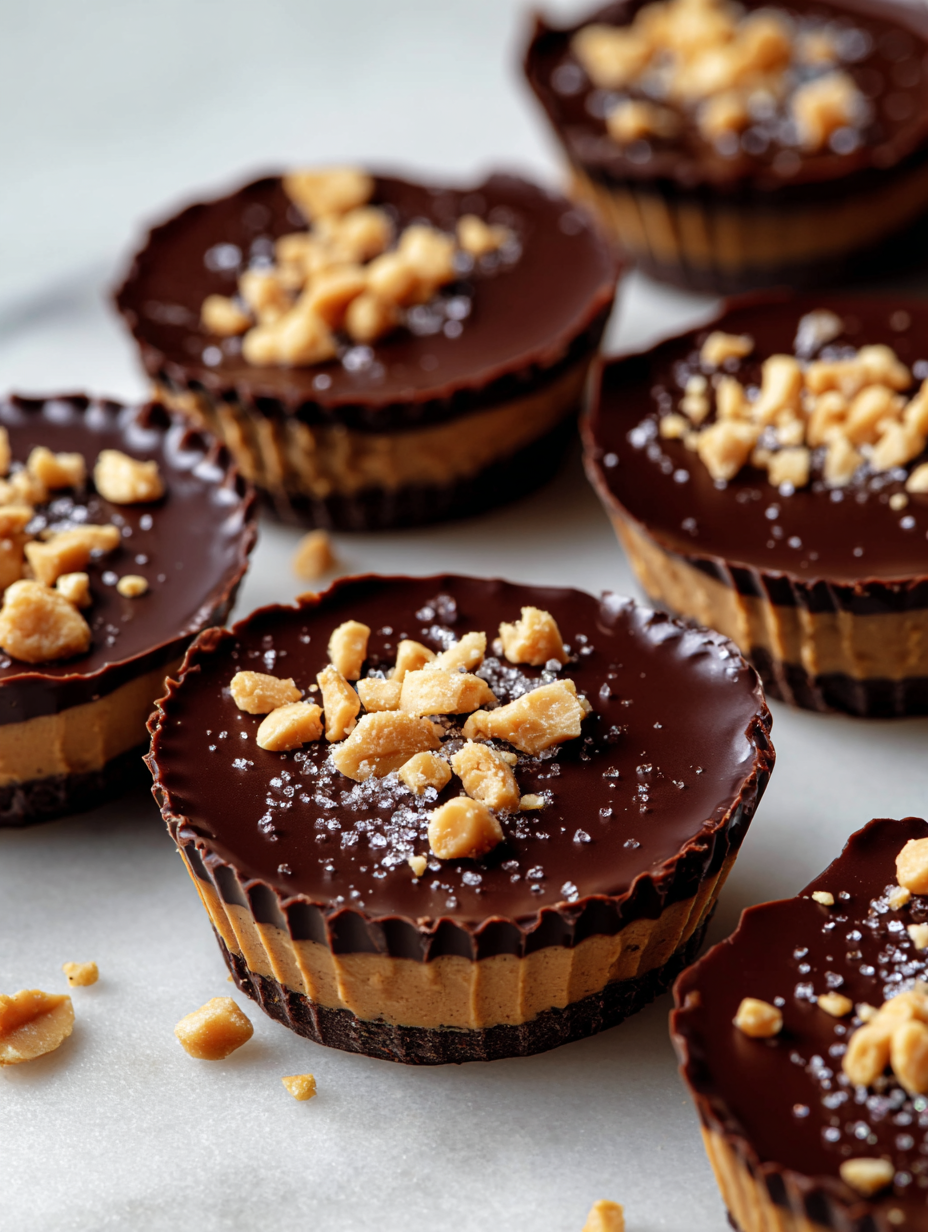
The unpolished, messy charm of homemade treats—embracing imperfections in every bite.
Why homemade peanut butter cups matter to me.
- Making these is a messy joy, and I love that they don’t have to be perfect.
- The smell of melting chocolate is pure comfort, like childhood in a bowl.
- I’ve made dozens, each batch a little different, but always delicious.
- Sharing these makes me feel like a tiny kitchen hero.
The story behind these homemade peanut butter cups.
- One day, I was craving a Reese’s but didn’t have any on hand. I decided to experiment with what I had—peanut butter and chocolate—and realized homemade is way better. It’s a small act of rebellion, turning simple ingredients into something special.
- I love the chaos of melting chocolate and the anticipation of that first bite. It reminds me that good things happen when you loosen up and just go with it.
- Plus, it’s a recipe I keep coming back to when I need a quick, satisfying project that ends in a treat.
A little history and fun facts about peanut butter cups.
The first commercial peanut butter cups were introduced by Reese’s in 1928.
Homemade versions often taste richer because you control the quality of chocolate and peanut butter.
Using high-quality chocolate makes a big difference in shine and flavor.
You can customize these by adding sea salt, crushed nuts, or a drizzle of caramel.
They’re a perfect quick gift for friends or a sweet treat for yourself, no wrapping needed.
Ingredient insights for better peanut butter cups.
- Chocolate: I prefer a good quality dark chocolate, it melts smoothly and gives a glossy finish. Swap with semi-sweet if you want a sweeter cup.
- Peanut Butter: Creamy peanut butter is best for smooth cups. Crunchy adds texture, but can crack when chilled.
- Butter or Coconut Oil: Use unsalted butter for richness or coconut oil for a shiny, smooth coating.
- Sweetener: Honey or maple syrup can be stirred into peanut butter for extra flavor—just keep it balanced.
- Salt: A pinch enhances everything, especially if your peanut butter is unsalted.
Spotlight on chocolate and peanut butter.
Chocolate
- Chocolate: I love the snap and shine of good melting chocolate. Tempering isn’t necessary but helps with gloss.
- It melts into a smooth, oozy liquid that coats everything. Look for a bar with at least 70% cocoa for depth.
Peanut Butter
- Peanut Butter: Creamy, rich, and slightly salty. It’s the core flavor and texture. Natural peanut butter works well, but it can be a little runny.
- It’s essential to stir well so it doesn’t separate when heated. The aroma of roasted peanuts is unmistakable.
Possible ingredient swaps and how they change the treat.
- Dairy-Free: Use coconut oil instead of butter for coating—adds a faint coconut aroma and glossy finish.
- Vegan: Swap milk chocolate with dark or vegan chocolate, and use coconut oil or vegan butter.
- Sugar-Free: Opt for sugar-free chocolate and a natural sweetener like stevia or monk fruit.
- Nut-Free: Use sunflower seed butter instead of peanut butter—similar texture, different flavor.
- Salted Butter: Adds richness and depth; unsalted is fine if you want more control over salt.
- Cocoa Powder: For a more intense chocolate flavor, mix in a bit of unsweetened cocoa powder into melted chocolate.
Step-by-step guide to homemade peanut butter cups.
Equipment & Tools
- Mini muffin tin or silicone molds: Shape the peanut butter cups.
- Double boiler or microwave-safe bowl: Gently melt the chocolate.
- Spatula or teaspoon: Spread chocolate and peanut butter.
- Parchment paper or silicone liners: Prevent sticking and facilitate easy removal.
Step 1: Line a mini muffin tin with paper liners or silicone molds.
Step 2: Melt the chocolate: use a double boiler or microwave in short bursts, stirring until smooth.
Step 3: Spoon a small amount of melted chocolate into each mold, about 1 teaspoon, and spread to coat the bottom.
Step 4: Chill the molds for 5 minutes in the fridge until the chocolate hardens slightly.
Step 5: Add a dollop of peanut butter (about 1 teaspoon) on top of the chocolate layer in each mold.
Step 6: Cover the peanut butter with more melted chocolate, ensuring the peanut butter is fully enclosed.
Step 7: Chill again for 15-20 minutes or until firm and shiny.
Step 8: Once set, gently pop them out of the molds and let them sit at room temperature for a few minutes before serving.
Let the peanut butter cups rest at room temperature for 10 minutes after removing from the fridge, then store in an airtight container.
How to Know It’s Done
- Chocolate is fully melted and shiny.
- Peanut butter is fully covered with chocolate.
- Cups are firm and have a glossy finish.
Tips and tricks for perfect peanut butter cups.
Melt chocolate gently → Use low heat or short bursts in microwave to avoid burning.
Use room-temperature peanut butter → It spreads smoothly and sticks better.
Chill in stages → Helps in setting layers and prevents mixing.
Use quality chocolate → It melts evenly and gives a shiny finish.
Don’t rush the cooling → Proper chilling prevents melting and cracking.
Common pitfalls and how to fix them.
- FORGOT TO CHILL BEFORE ADDING MORE CHOCOLATE? Gently re-melt and re-chill to fix the shine.
- DUMPED TOO MUCH PEANUT BUTTER? Use a small spoon to evenly distribute or add more chocolate to cover.
- OVER-TORCHED THE CHOCOLATE? Add a teaspoon of coconut oil and stir until glossy.
- SEIZED THE CHOCOLATE? Start over with fresh chocolate and a splash of oil or milk.
Fast fixes for common chocolate and peanut butter issues.
When chocolate cracks, microwave for 10 seconds and stir to smooth.
Splash a little coconut oil into melted chocolate if it’s too thick.
Patch weak spots with extra melted chocolate before chilling.
Shield chocolate from drafts to prevent bloom (white streaks).
When in doubt, pop the tray back in the fridge for 5 minutes to set.
How to prep and store your peanut butter cups.
Make the peanut butter cups up to 2 days ahead; keep in an airtight container in the fridge.
Freeze for up to 1 month; wrap individually to prevent freezer burn.
Refrigerated cups will stay firm but may develop a slightly duller sheen over time.
Let chilled cups sit at room temperature for 5 minutes before serving for optimal texture.
Questions I get asked most often about peanut butter cups.
Can I use natural peanut butter? Yes, it works, but the texture might be a bit softer and less creamy.
Do I need special molds? Not at all. Any mini muffin tin or silicone mold works.
How long do they last? About a week in the fridge, longer if frozen.
Can I add salt or vanilla? Absolutely. They enhance flavor and deepen the chocolate and peanut notes.
What if my chocolate is too thick? Warm it gently with a splash of coconut oil or butter to loosen.
Can I make these vegan? Use dairy-free chocolate and plant-based butter or coconut oil.
What’s the best chocolate for coating? A good quality dark or semi-sweet chocolate gives the best shine and flavor.
How do I get shiny tops? Temper the chocolate or add a tiny bit of coconut oil before melting.
Can I skip the refrigeration? For best shape and texture, yes. They soften at room temp but hold well in the fridge.
Is it okay to double the recipe? Sure, use a larger bowl and ensure even melting as you scale up.
Homemade Peanut Butter Cups
Ingredients
Equipment
Method
- Line a mini muffin tin with paper liners or silicone molds for easy removal.
- Chop the chocolate into small pieces and place it in a double boiler or a microwave-safe bowl. Melt the chocolate gently, stirring regularly until smooth and glossy—this releases a wonderful chocolate aroma.
- Spoon about a teaspoon of melted chocolate into each mold, then use the back of the spoon or a small spatula to spread it evenly across the bottom. The layer should be thin but cover the entire base.
- Place the filled molds in the fridge for about 5 minutes to let the chocolate firm up slightly—listen for a gentle snap as it sets.
- Remove the molds from the fridge and add a small dollop of peanut butter—about a teaspoon—on top of each chocolate layer, gently pressing it down so it sits evenly.
- Cover each peanut butter dollop with more melted chocolate, spooning or pouring until the peanut butter is fully enclosed and the top is smooth and glossy.
- Chill the molds again in the fridge for 15–20 minutes, or until the chocolates are firm and shiny—this helps them set beautifully.
- Once set, gently pop the peanut butter cups out of the molds. Let them sit at room temperature for a few minutes to soften slightly for the best bite.
- Serve these messy, delightful treats immediately or store them in an airtight container in the fridge for up to a week.
Notes
And honestly, they taste better when you make them yourself—less perfect, more personal. Keep experimenting, and soon you’ll be reaching for these little bites whenever you need a quick, homemade comfort.

Founded by Rachel Morgan, a proud home cook and foodie from Austin, Texas, this blog is all about transforming everyday meals into moments of joy.